
With an iPhone in your hand and a few simple pointers learned below, you can take beautiful portraits of your favorite people, pets and objects.
Basics of Taking Pictures Using Portrait Mode
As mentioned in our previous post on the basics for taking photos on your iPhone, (see link here), Portrait mode does not refer to the orientation (ie landscape vs portrait) but rather this mode makes your subject pop and can give your pictures a dramatic look. When you take a photo in this mode, it keeps the subject in focus while making the background of the picture look artistically out of focus.
You can see the difference in the two photos below of the same woman. In the one on the left, you’ll notice you can still see the detail of the background, in this case particularly the statuary in the fountain. The woman seems to be part of the scene. On the right, however, the background is out of focus, ensuring the eye focuses primarily on the subject in the foreground.

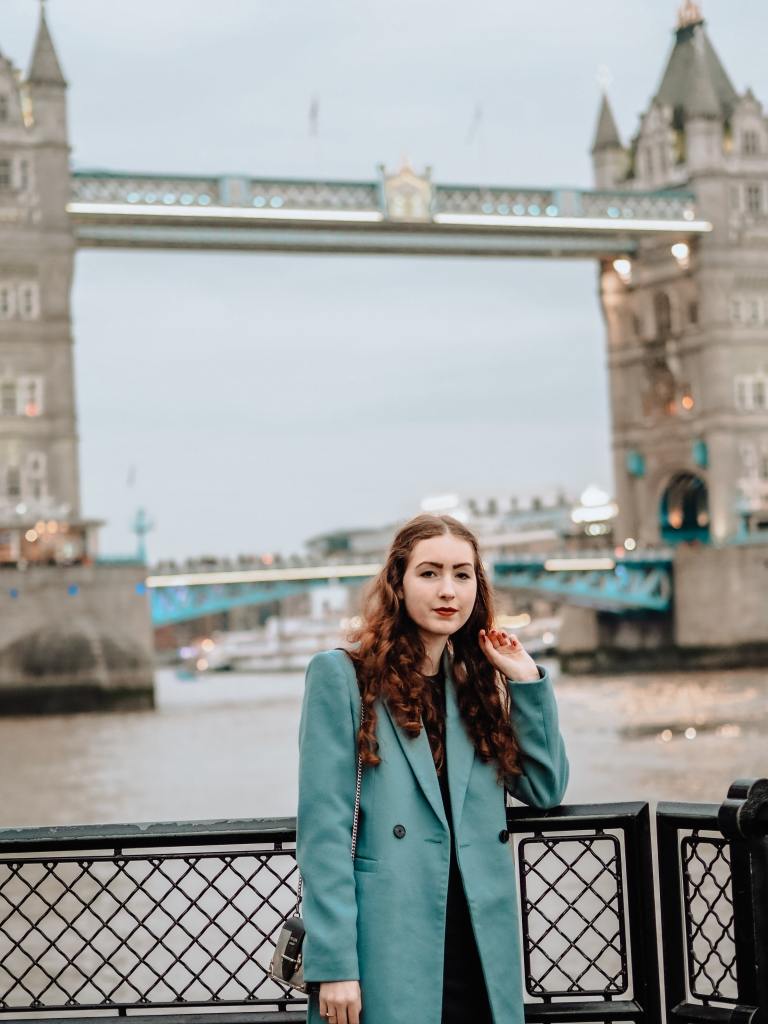
Here’s another example with the background really blurred in order to focus on the woman in the foreground:

The subject of your focus doesn’t necessarily have to be a person. The Portrait mode will work equally well with pets (if you can get them to stay still long enough to capture them!) or objects. See below the example where the person is made part of the background through blurring whilst the phone (and his hand) are the focus of this shot.

Start by opening the Camera app. ![]()
Then using the menu on the bottom of the screen, scroll to “Portrait” mode (shown circled in image below).

On the bottom of the image on the screen itself, you’ll now see a sub-menu that will allow you to choose the type of light and how much blurring effect you’d like. Simply slide your thumb (or any finger) over the menu from left to right to see your options. See arrow on image below.

Let’s take a look at some of the options and what they’ll do for this cluttered desk I’ve chosen for the comparisons. 🙂 Immediately below is a picture taken in normal (not Portrait) mode, where you can clearly see all the clutter.

Here is the clutter with studio light vs with contour lighting. Remember to tap on the screen itself on the subject or subjects on which you would like the camera to focus. In both shots below, the focus has been chosen on the mug, so the rest of the clutter is blurry.
Perhaps it was due to poor ambient lighting when I took these or my own faulty vision, but personally I don’t see much distinction here between the two, can you? Perhaps the main subject (the mug) has a subtle yellow glow on the right (Studio Light)?


You will however be able to clearly see the effect on the same desk clutter of two of my favorite effects…Stage Light (left) and Stage Light Mono (right). These really “clean up” the clutter!


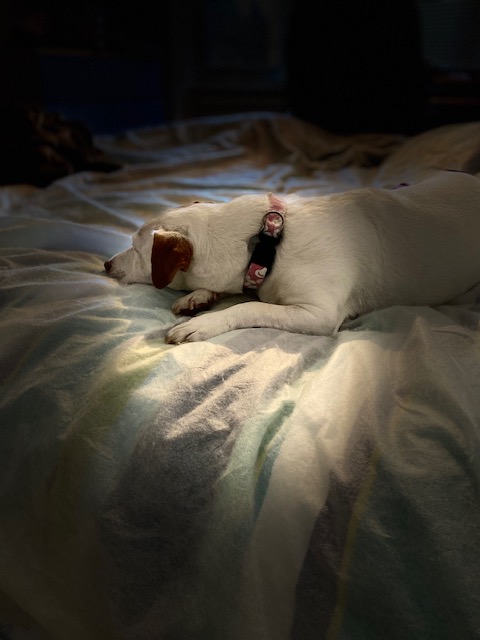
Here’s the same Stage Lighting effect using my dog as model. She is too shy for the stage unfortunately…
It’s fun to have a play around with the different features and effects in portrait mode, trying indoors and outdoors! You’ll discover you can take really interesting shots you might never have guessed were possible using your smartphone.
If you enjoyed this post, do let us know with a ![]() . To ensure you don’t miss our upcoming posts on Video, Slo-Mo and Time Lapse photos taken on your iPhone, be sure to subscribe! We guarantee your privacy as we don’t share your details with anyone.
. To ensure you don’t miss our upcoming posts on Video, Slo-Mo and Time Lapse photos taken on your iPhone, be sure to subscribe! We guarantee your privacy as we don’t share your details with anyone.
